Albatros D.Va - Interior Details
Wingnut Wings - 1/32
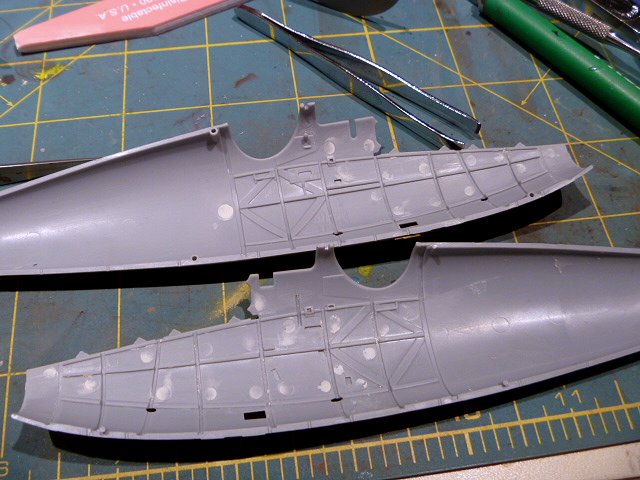
Some ejector in marks inside the fuselage needed to be filled.
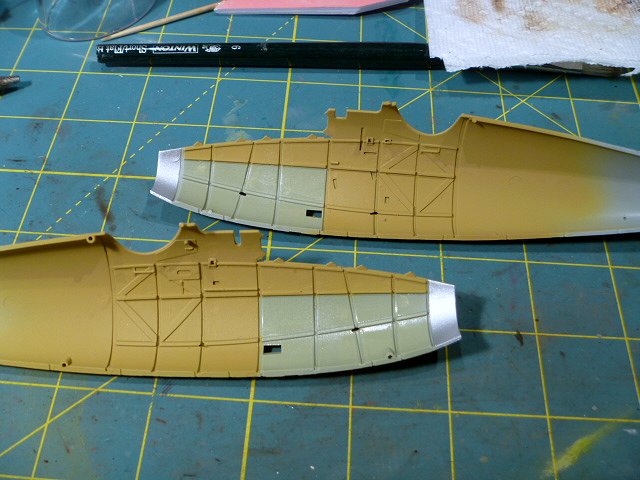
Cockpit and engine compartment were masked and painted.
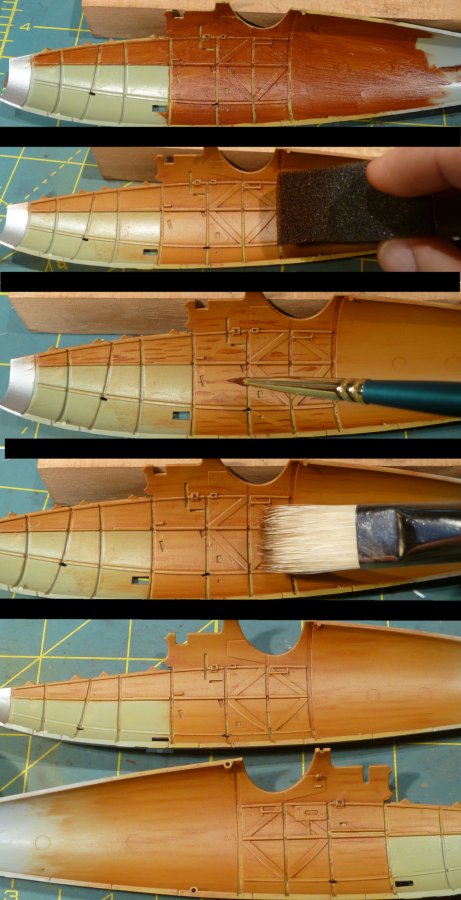
The wood portion of the cockpit/interior was given some grain effect with oil paint. I use these oils in lots different application including wood grain and weathering. Not all oils paints are created equal. There are different grades and since these go a long way it is best to use the highest artist grade available.
The steps in the order of the photo:
-A light coat of burnt sienna brushed on.
-Wipe with a piece of packing foam leaving fine streaks
-Paint some lines wit the same oil and a fine point brush
-Lightly drag this out with a clean, dry, stiff bristle brush
-The effect can be seen in the last 2 sections
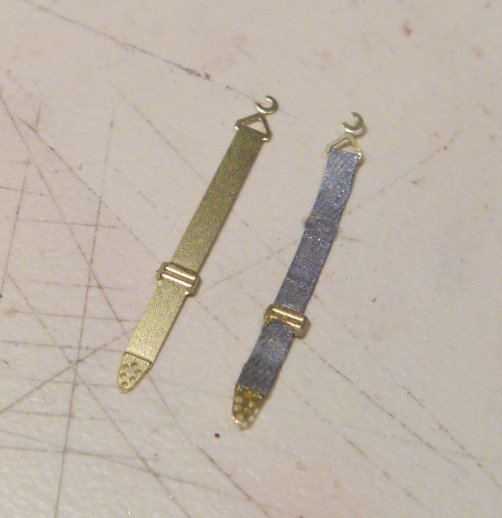
The kit comes with a photo-etch seat harness. I have found these to be more difficult to get a more natural look even when annealed. Strips of lead foil are cut to size and a round jewelers file rolled across the surface to give it a canvas-like texture. The hardware is cut from the PE straps and everything is glued together.
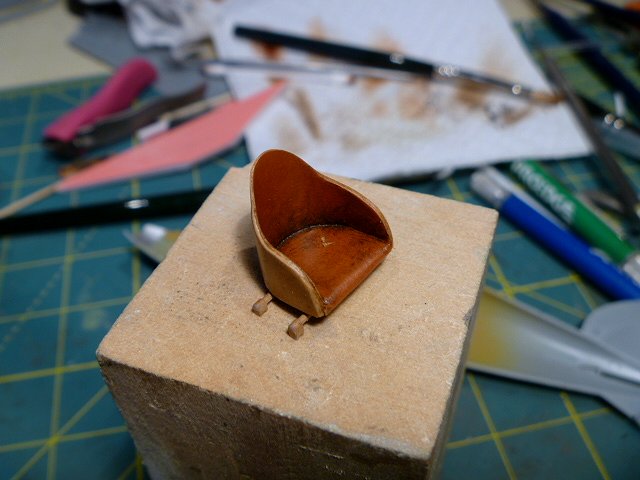
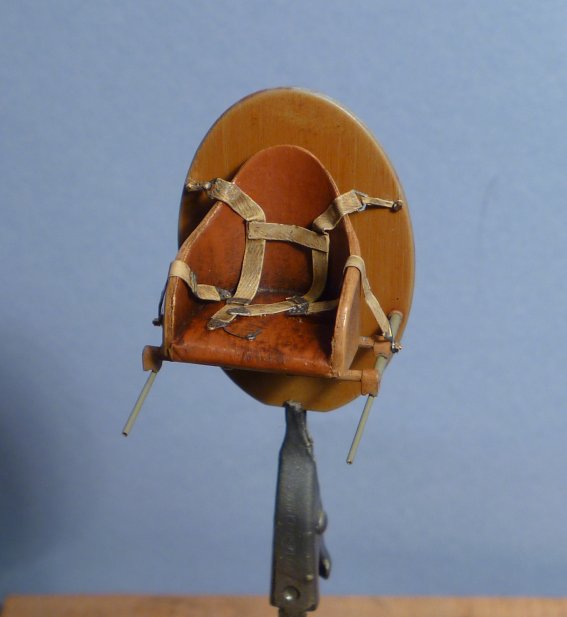
The sides of the seat seemed just a bit on the thin side. Plastic card was glued to the outside surface then sanded to blend in the shape.
The seat cushion is made with a few plys of tissue cut to shape a tiny bit smaller than the seat bottom. This was lead in place with a piece of Tamiya tape that was tucked in around the edge and trimmed. The basck was also covered with tape. After painting the wood shell like the fuselage interior, the inside portion of the seat was painted leather and weather again with the burnt sienna. A small cut was made with the tip of a hobby knife and tiny bit of the tissue puller out to look like stuffing under the leather.
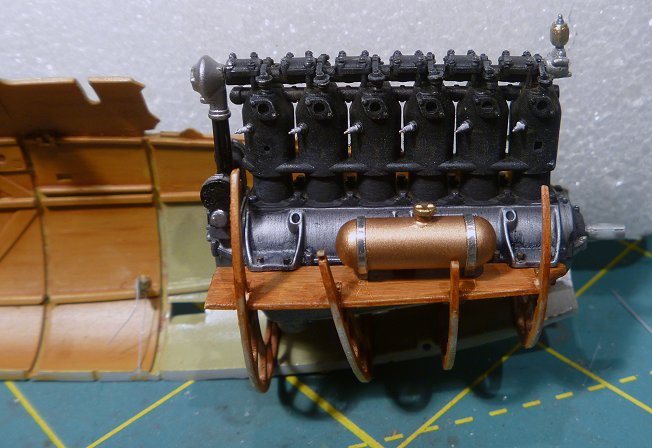
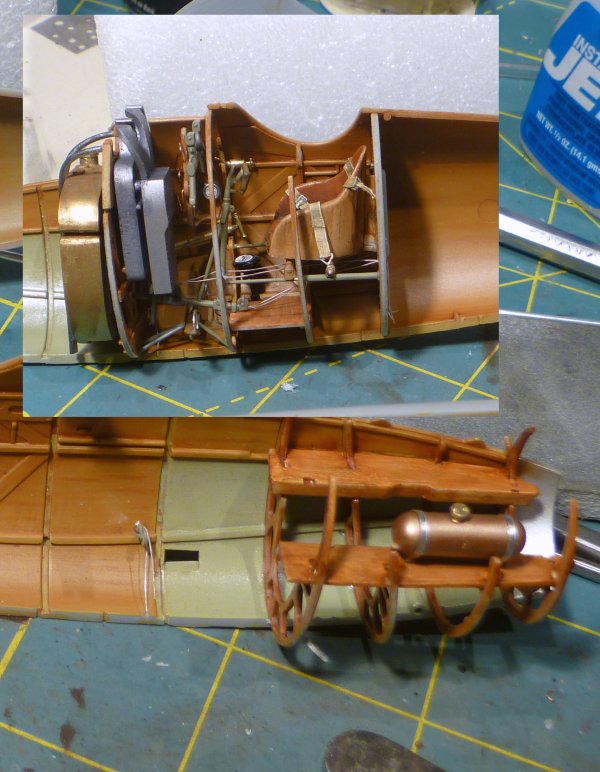
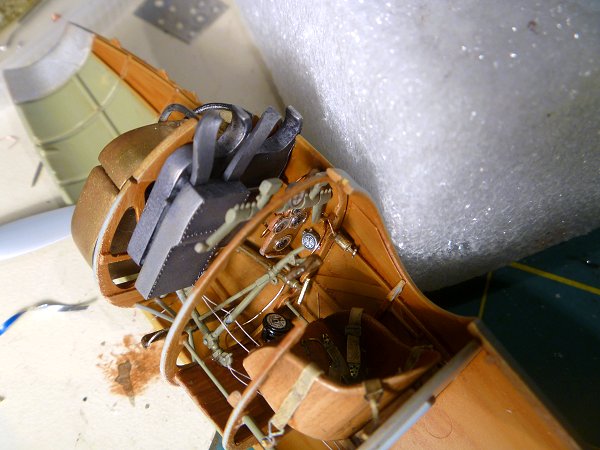
Interior components are installed into a fuselage half. Cable where run from the control stick for the control surfaces. Wire was wrapped around one of the rods from a punch set that matched the size of the instrument decal. The same punch was used to make discs from clear plastic card for the instruments faces. Cables to the instruments added to the back of the panel. The engine mounts, which are set in the fuselage formers, needs to be positioned so the prop shaft and spinner are correctly spaced in relation to the front of the fuselage. The 3rd former from the front has notches at the top of each side that the cabane struts will eventually be hooked connected. It is easy to see how important careful placement is when setting the fuselage formers.